Showing posts sorted by relevance for query Crisp. Sort by date Show all posts

Tuesday, September 11, 2018

Gluten-Free Apple Crisp


I’m a day late for this posting.  

I have a number of gluten sensitive people in my life.  Today’s effort is a gluten free apple crisp, which is super easy to make.  

I’m going to supply a link to my Strawberry-Rhubarb Crisp for the crisp part.


To make it gluten-free, I just used Bob’s Red Mill gluten-free flour, Bob’s Red Mill gluten-free oatmeal, and I added a teaspoon of Xanthan gum, and that’s it!


I filled an 8x8” glass baking dish with seven sliced apples, spooned the topping mixture on top, and popped it in the oven for 50 minutes.


It’s fantastic and tastes exactly like apple crisp made with regular flour.


Thursday, June 1, 2017

Strawberry Rhubarb Crisp

Between the seemingly-endless rain storms in Toronto this spring, there have been some gloriously sunny days.  Those sunny days saw me working in the garden trying to clear out all the weeds that grew to huge size due to all the rain.  But the rain also helped my rhubarb patch grow and ripen early, and inspired by their beautiful red stalks, I decided to make a rhubarb strawberry crisp.


Ingredients

1 cup of all-purpose flour

1/4 cup packed light brown sugar

1/2 cup of vegan-friendly granulated sugar and 1/3 cup of vegan-friendly granulated sugar

1/2 cup of vegan margerine - I used Earth Balance

3/4 cup of rolled oats

Pinch of salt

1 tsp of cinnamon

Rhubarb and strawberries - enough to fill an 8"x8" baking dish about halfway


Directions

Pre-heat your oven to 350F

1. Wash your rhubarb taking care to be certain that no garden soil remains on the stalks.  Cut the stalks into pieces about one inch in length and put them in the baking dish.

2. Wash the strawberries under running water.  Hull and slice them and put them into the baking dish along with the rhubarb and toss them together.

3. Sprinkle 1/3 cup of granulated sugar over the strawberries and rhubarb, and set your baking dish aside.

4. Into a large mixing bowl, add the flour, the brown sugar, 1/2 cup of sugar, the cinnamon and the pinch of salt.  Whisk the ingredients together.

5. Using a pastry cutter, cut in the margerine until the mixture resembles very small peas.

6. Using a wooden spoon, blend in the oatmeal.  Do not use your hands for this because the heat from your fingers will melt the margerine and you don't want that to happen.  The mixture will get a little clumpy, but that is ok.

7. Spoon the mixture evenly over the rhubarb and strawberries in the baking dish.

Note: if you have been generous with the amount of rhubarb and strawberries that you put in your baking dish, you run the real possibility that the fruit will boil over in the oven.  Do yourself a favour, and put the baking dish on a parchment covered cookie sheet.

8. Put the baking dish into the oven and bake for 50 to 60 minutes.  In my oven, the crisp was done in 55 minutes.  Remove the crisp from the oven when the top is golden brown.


Wednesday, May 8, 2019

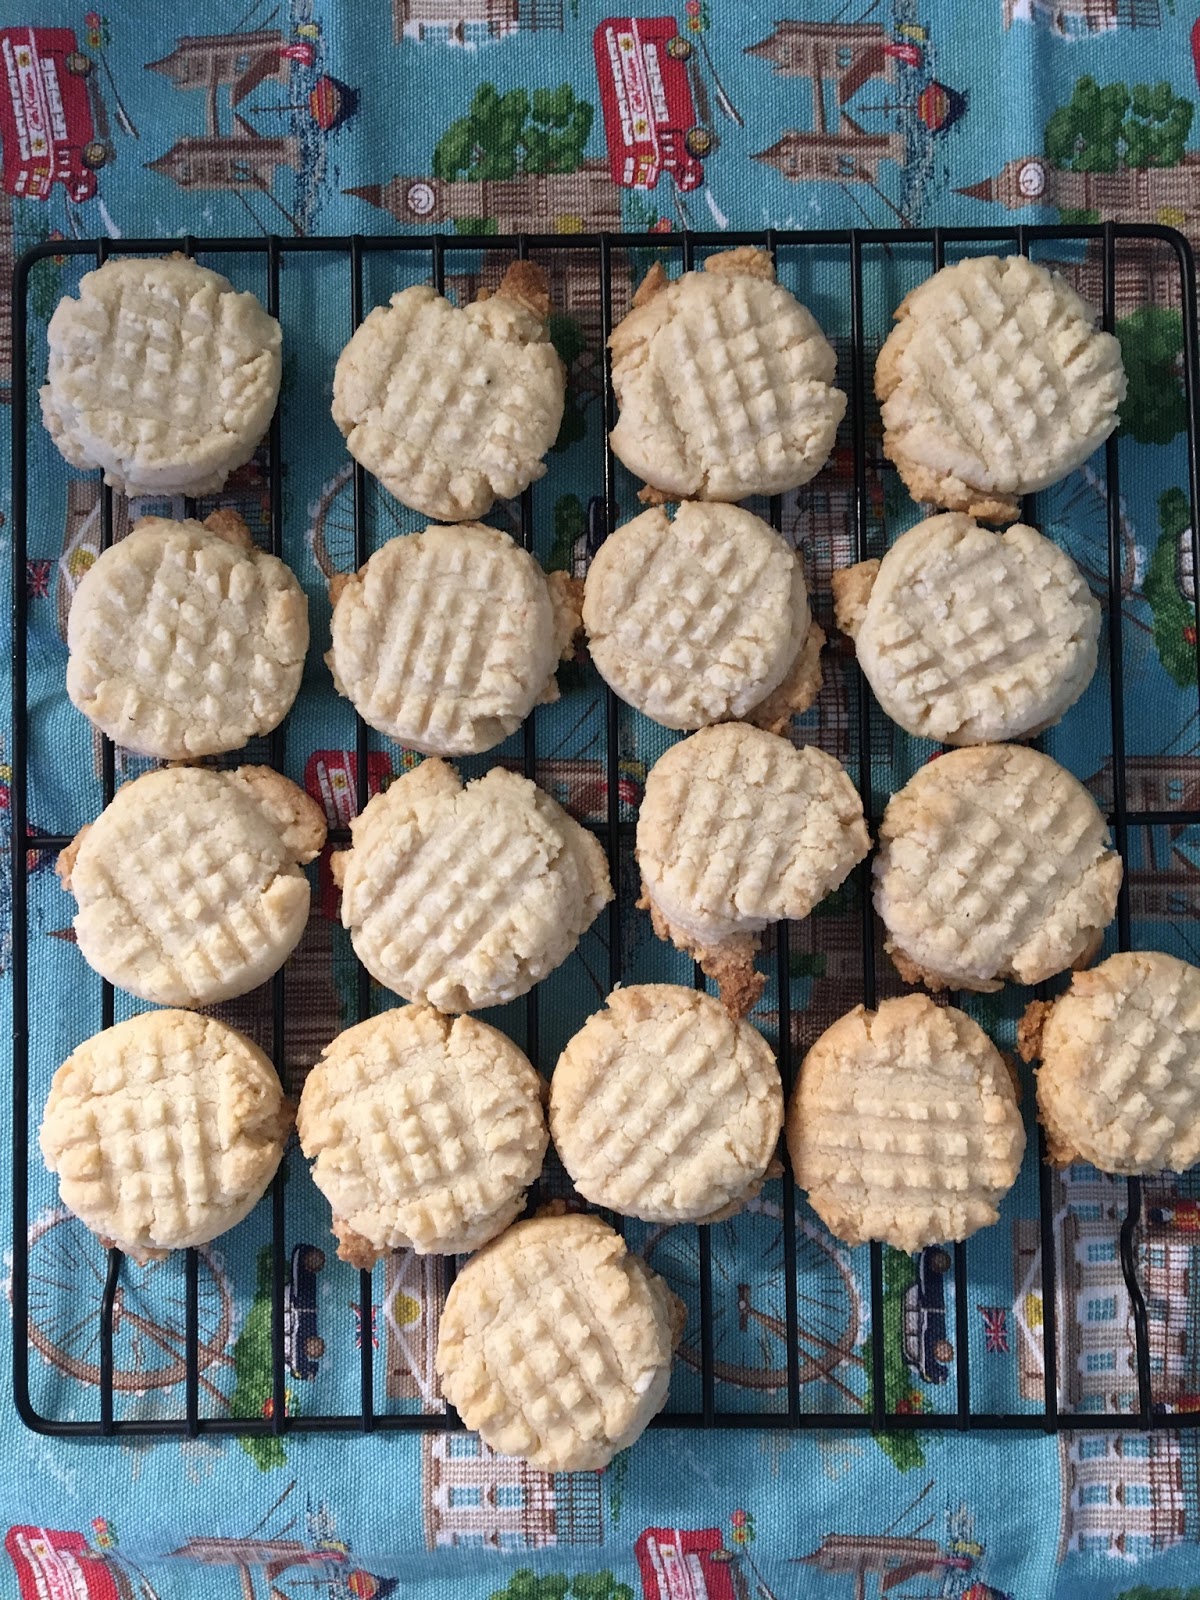
Gluten-free Shortbread

I play bridge on Wednesdays and I always bring cookies or something baked to share with my bridge friends.  For the last few weeks I have been making the banana-oatmeal cookies that appear elsewhere in this blog (https://downrightvegan.blogspot.com/2015/03/banana-oatmeal-cookies.html), but I was looking for something different this week.


A few weeks ago I saw a recipe for a gluten-free apple crisp on a non-vegan website.  The recipe called for almond flour instead of gluten-free flour and I thought it sounded interesting so I purchased a bag of almond flour.  I was planning to use it in my fruit crisp recipe which you will find here https://downrightvegan.blogspot.com/2017/06/strawberry-rhubarb-crisp.html


In the meantime, I saw a recipe on the King Arthur Flour website about using almond flour to make gluten-free cookies.  The recipe that was posted was definitely not vegan, so I changed it easily enough, and made other changes to the recipe to make it my own.

The cookies were wonderful and were very well received by my bridge partners, and they were also enjoyed by the other people in my home.

First - preheat your oven to 350 degrees


Ingredients

The recipe makes 26 cookies.

2 cups of almond flour.  I used Bob’s Red Mill Brand, but any brand of almond flour will work.
6 tablespoons of icing sugar.  I used Wholsome brand because it is fair trade sugar.
6 tablespoons of vegan margerine.  I used Earth Balance brand buttery sticks.
1 teaspoon of vanilla.

Put the flour, icing sugar and margerine into the bowl of a stand mixer or into a regular bowl and use a hand mixer.

Mix on low to medium speed until the ingredients come together into a moist dough and then add the vanilla.  I’ll be honest when I say that I was wondering if the ingredients would come together but after about a minute they did.

Cover your cookie sheet with parchment paper and using a small cookie scoop, drop the dough onto the cookie sheets. Using a fork that has been lightly dipped in icing sugar, gently press the cookies down until they are flattish, then press them again at right angles to the first press to make the classic grid  pattern. Alternatively you could gently press them with the bottom of a drinking glass if you don’t want the grid pattern on your cookies.  I like to space my cookies out so I could only fit a dozen cookies on a sheet. I used a small cookie scoop.  It is about one and half times bigger than a teaspoon.


Ovens vary, but I found my cookies were baked perfectly at 10 minutes.  You will know they are done when they are lightly browned around the edges.  If you aren't sure about your oven, set your timer for eight minutes and check for doneness and if necessary, bake the cookies for a further two minutes.

Let the cookies cool on the cookie sheet for about ten to fifteen minutes then move them to a rack to cool completely.


The cookies are great with tea.


I can’t tell you how long they will last because I haven’t had any left over store away!

Winter Warmer-upper

This is an update of a post that was originally written in 2014. This is one of my go-to winter soups. I had some squash in my freezer lef...