Saturday, August 17, 2019

Winter Warmer-upper

This is an update of a post that was originally written in 2014. This is one of my go-to winter soups.

I had some squash in my freezer left over from last fall, and decided to make soup with it.

I placed my  enameled cast-iron Dutch oven on the stove, added about 1 tablespoon of canola oil and switched the stove on to heat up the oil.

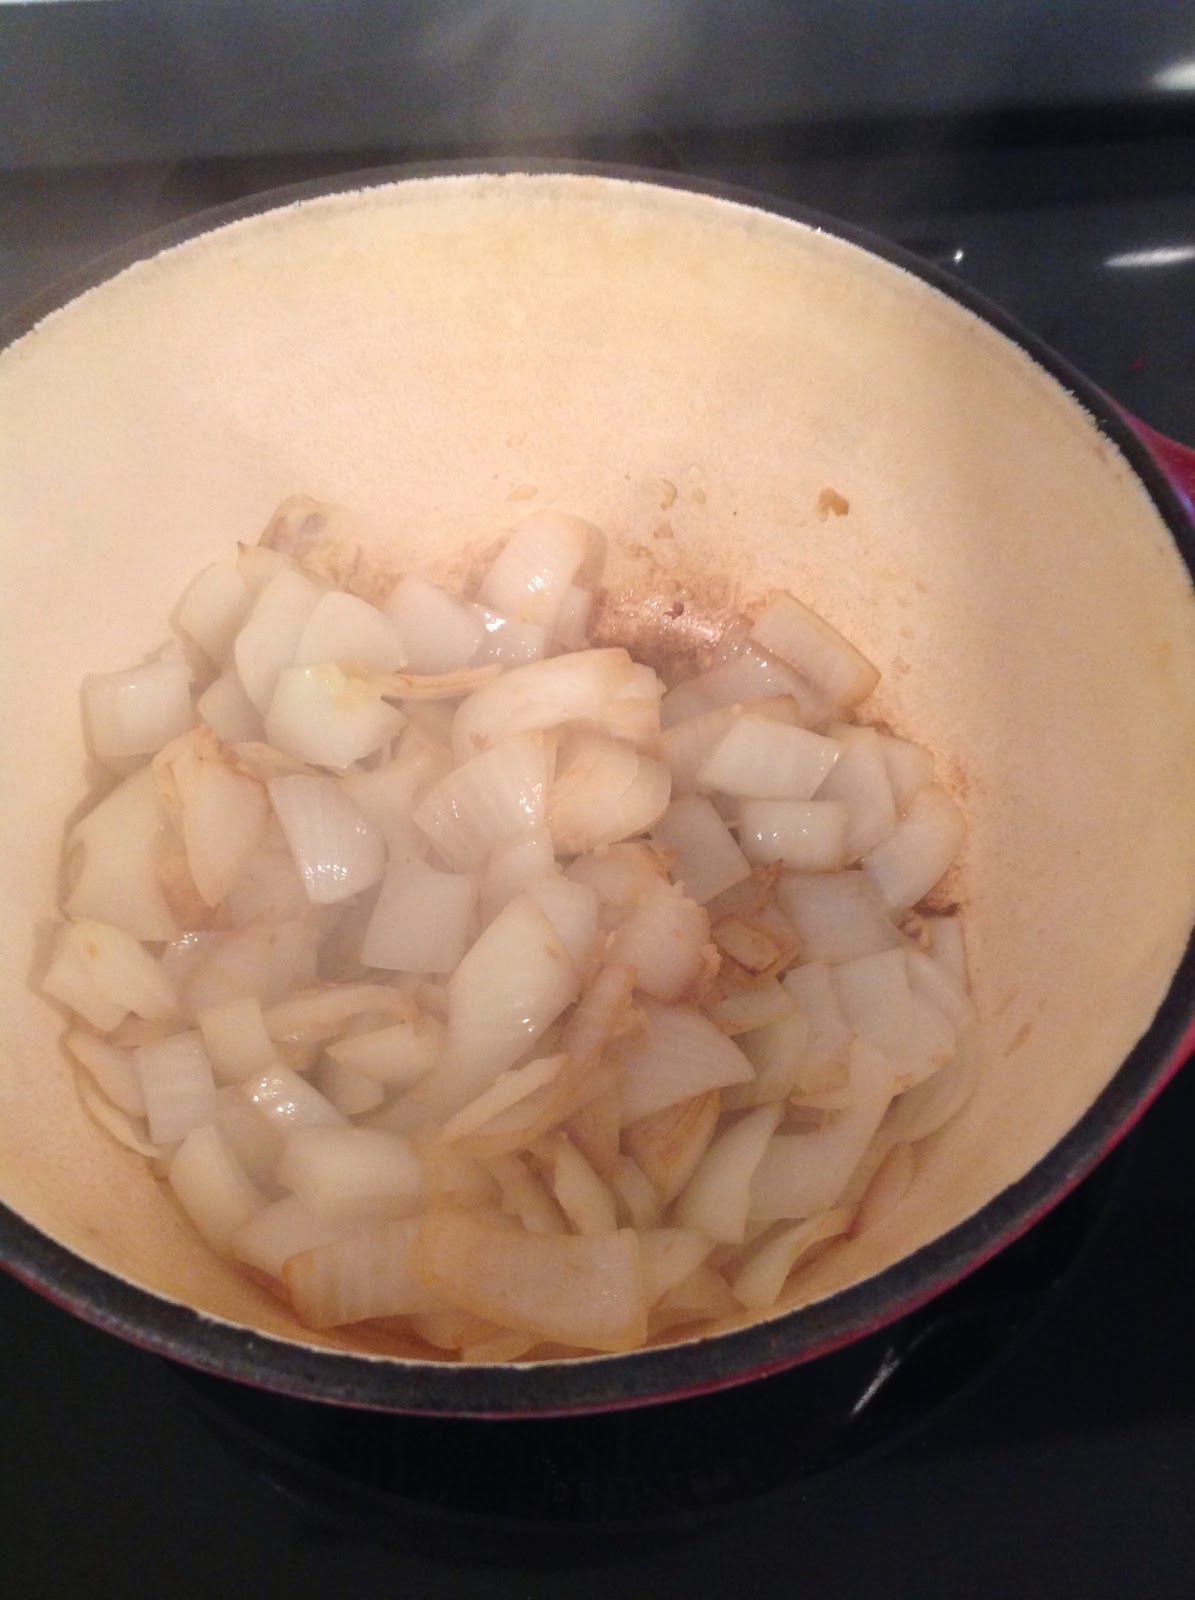
Putting on my onion-cutting goggles (I hate the fumes that make my eyes sting), I chopped an onion into chunks, and put it the pieces into the pot to cook.


While the onions were cooking, I grated some fresh ginger, about a tablespoon, and added it to the pot with the onions.  Next I coarsely chopped about three cloves of good garlic and added the pieces to the pot.


When the onions were translucent, I added the squash (it was a big squash, so if you were buying acorn squash, I would suggest getting two of them!), one chopped carrot, and  1/2 chopped sweet potato to the pot, and I added enough vegetable broth to cover everything.  I added about a tablespoon of freshly ground black pepper and about one teaspoon of Trader Joe's everday spice.   I let the contents of the pot come to a boil, then I put the lid on, and let it simmer for about 20 minutes.


At this point all of the veggies in the pot were very soft.   Now comes the fun part.  Using my immersible hand-held blender (it's a Kitchenaid with ten speeds - super handy!) I pureed the soup in just about fifteen seconds.  This is much quicker, neater and safer way to puree a pot of soup: there is no need to be moving hot soup around the kitchen to put it in and out of a blender or food processor.


I served it into bowls and we ate it in the living room sitting in front of our fake fireplace.


Friday, August 16, 2019

Maple Walnut Whisky Fudge


One of my great pleasures in life is veganizing an interesting recipe that I might see in a magazine or cookbook, and then serving it to rave reviews.  This fudge is one of those recipes.  I first saw this fudge in the July/August edition of Canadian Living magazine and thought it would be perfect for vegan mofo.  I tried it with vegan substitutions for the cream and the butter and it worked perfectly.  Everyone who tried it absolutely loved it.  I wish I could claim credit for inventing it, but I can only take credit for veganizing it.


First things first - make sure that your candy thermometer is calibrated so that you get an accurate reading - this is critically important.  According to most cookbooks, if your candy thermometer is off even a little bit, your fudge can be thrown off. Not hot enough and your fudge won’t set, and too hot and the fudge will be grainy.  

To calibrate your thermometer put it into a pot of boiling water, which, if you live at sea level, you know will be 212F.  If your thermometer reads higher or lower than 212, you will know to add or subtract that many degrees from your reading in order to get the temperature that you will require.

Ingredients


1 cup pure Canadian maple syrup
1 cup 
 sugar 
1 cup full fat coconut cream (here i am referring to the solid cream that forms at the top of a can of full fat coconut milk that has been in the fridge overnight)
1/4 tsp sea salt
2 tablespoons Canadian whisky - I used Canadian Club Rye Whisky
3 tablespoons vegan butter - I used earth balance
1 cup of toasted walnuts.

Instructions 

  1. Line a loaf pan with parchment paper across the bottom and up the sides
  2. Toast the walnuts on a parchment lined cookie sheet at 350F for five minutes.  Keep an eye on them so that they don’t burn.  Set them aside.
  3. Pour the syrup, sugar, coconut cream, salt and whisky into a large, heavy pot.  Make sure the pot is deep enough that the mixture can boil vigorously without danger of boiling over the top of the pot.
  4. Bring these ingredients to a boil, over medium heat. Stir constantly until the sugar is all dissolved.
  5. Continue to boil the mixture, without stirring, until the temperature on your candy thermometer reaches 238F.  This is the soft ball stage. It took over twenty minutes for me. You will need to keep a close eye on this stage so that you get an accurate temperature reading.
  6. When the thermometer reaches 238F, remove the pot from the heat and stir in the vegan butter.
  7. Allow the mixture to cool without stirring until the temperature falls to 110F.
  8. When the mixture reaches 110F, use a hand mixer to beat it while it is still in the pot.  Beat the mixture until it is no longer glossy and until it takes on a fudgy look.  
  9. At this point you can add 3/4 cup of the walnuts.  
  10. Using a wooden spoon or spatula, scrape the fudge into the prepared loaf pan, smooth it flat, and sprinkle the remaining 1/4 cup of walnuts on the top of the fudge and then pat them down a bit with the wooden spoon or spatula
  11. Let the fudge cool on your counter for an hour or so, then put it in the fridge for a few hours.  When it is firm cut it into one inch pieces.
  12. It can be stored for a few days in a tin lined with waxed paper. 


Monday, August 5, 2019

Pastry Day


Last week I was in a grocery store with an extensive (and non-vegan) bakery area, and I noticed that there were a lot of fruit and puff pastry offerings and I thought that I might like to try my hand at making something similar.

The pastries that I saw were similar to a French Mille feuilles but without the icing on top.  


Ingredients

Puff pastry made without dairy butter, either purchased or home-made
Strawberries, raspberries or any fruit of your choice
Full fat coconut milk or ready made coconut whipped cream
Superfine sugar (if you make your own whipped cream)

Preheat your oven to 425F

  1. Thaw your puff pastry in the refrigerator for about eight hours or overnight.
  2. Roll out the puff pastry to about a quarter inch thick.
  3. Use a cookie cutter or pizza cutter to cut equal size pieces of puff pastry.  You can use any shape that you like, but keep in mind that the pastry will shrink a little while cooking.
  4. Place the pieces of puff pastry on a piece of parchment paper on a cookie sheet.
  5. Brush the tops of the pieces that will become the tops of your puff pastry stacks with non-dairy milk and sprinkle with cinnamon.
  6. Bake in the oven for ten minutes.
  7. At the ten minute mark, put a piece of parchment paper over the top of the puff pastry pieces and an empty cookie sheet on top of that, to weigh the pieces down.
  8. Remove the cookies sheets from the oven and let the puff pastry cool completely.
  9. Make some whipped cream using the solid part of the full fat coconut cream, or use a ready-made coconut milk whipped cream.
  10. Make a stack by placing one piece of puff pastry down, put whipped cream on it then add a few pieces of fruit, then place the next piece of puff pastry on top of that, and add whipped cream and more fruit, then place the cinnamon-sprinkled piece of puff pastry on top and add a last bit of whipped cream and a piece of fruit.


These pastries look beautiful and they taste great. 

Sunday, August 4, 2019

Easy Cake


This is a super easy-to-make cake to that has only two ingredients: a box of spice cake mix (most cake mixes are accidentally vegan) and a 12 ounce can of pop.  That’s it.


You empty the cake mix into a bowl, pour in the pop, stir until the cake and pop are combined (the pop will fizz a bit at the start but that’s ok), pour it into a prepared cake pan - I used two 8 inch square pans - and put it into the oven for 20 minutes.  

I made a simple butter cream icing, put some between the layers and the rest on top. 

I was admiring the results when a neighbour came over with coffee, so we sat in the yard with coffee and cake. What better way to spend a Sunday evening.


You could also use a different flavour of cake mix and different types of pop. 


Saturday, August 3, 2019

Biscotti - Vegan Mofo Day Three


I made my very favourite biscuit/cookie for this post - Maple walnut biscotti.  It’s both a biscuit and a cookie.  I love them with coffee or tea.  Or on their own.  Any time is the right time for biscotti.


I used a recipe that has already appeared on my blog, and nothing changed except I used a different egg replacer from the one you will see in this recipe.  I used Pane Riso because I was out of Ener-G.  The results were the same.


These biscotti are tasty and very easy to make, and really, what more do you want in a biscuit/cookie?


Friday, August 2, 2019

Where the Magic Happens - Vegan Mofo 2019 Day Two

My house is actually quite small by Canadian standards, and therefore it has a small kitchen.  Built in 1955, it is a bungalow of only 850 square feet in size. 

This is the kitchen looking out the french doors towards the dining room.  Behind where I was standing to take the picture, is a small kitchen table.


I have an electric stove and oven and they work just fine for my purposes.  I know there are people who swear by gas ranges, but I am happy with what I have.  I like the ceramic cooktop because if something boils over, I don’t have to worry about food getting on the burners.  My last stove had regular burners and I spent way too much time scrubbing cooked-on food out of the burner pots. 

Here are my hard working helpers.

Some good knives.  I have had these for 37 years.


The blender and the food processor.  The blender was a gift from my over-the-back-fence neighbour and the food processor was a gift from my sister. 


This is my kitchenaid stand mixer.  I haven’t used my hand mixer since I added this to my kitchen.


This is my immersion blender.  It’s very handy and small enough to take to the cottage at weekends, when we go. The immersion blender is great for purée-ing soup and making smoothies.  It was a gift from my other sister. 


I have a mandoline, but I’m actually a little afraid of it, so I don’t use it.  

Here is an apron.  I’m kind of naturally messy, so the apron saves me from myself.


Finally, no kitchen would be complete without a helper. This is Kiki, one of my rescue cats.  He’s a polydactyl and looks like he has thumbs.  He can easily open cupboards.  Here he is in the cat food cupboard, wondering if I can get the hint.  


Thursday, August 1, 2019

Vegan Mofo 2019 - Day One

I have been an ethical vegan for over ten years and was a vegetarian for many years before that. 

I became a vegan when I had an epiphany about the reality of the dairy and egg industries.  It’s hard to explain but I feel a deep sorrow for all the years when I wasn’t a vegan, for all the harm I paid others to do to animals so I could eat them.  I’m not sure that there is any expiation for my years of selfish eating. 

Like many people, I loved dogs and cats and horses, despised the exploitation of animals in circuses and marine parks and rodeos, but spared no thought for food animals. From time to time I would read about a traffic accident involving animal transport and I always rooted for the animals who managed to escape, but other than that I spared them no thought. Now I think about exploited animals almost constantly. 

I have three rescue cats and I’m feeding three stray cats in my back yard.  These are the shelters we have for them.  Each shelter has one inch of insulation on all six sides. When filled with straw and placed under the deck, close to the house, they are as cosy as possible in a harsh Canadian winter.


My biggest sadness right now, other than the continued horrors of the animals-for-food industry, is the utter refusal of everyone else in my very large family (except for three people, one of whom has been vegan since birth), who just don’t care about animals or the horrors they face in their very short and tormented lives.  This both saddens and angers me. 

Wednesday, May 8, 2019

Gluten-free Shortbread

I play bridge on Wednesdays and I always bring cookies or something baked to share with my bridge friends.  For the last few weeks I have been making the banana-oatmeal cookies that appear elsewhere in this blog (https://downrightvegan.blogspot.com/2015/03/banana-oatmeal-cookies.html), but I was looking for something different this week.


A few weeks ago I saw a recipe for a gluten-free apple crisp on a non-vegan website.  The recipe called for almond flour instead of gluten-free flour and I thought it sounded interesting so I purchased a bag of almond flour.  I was planning to use it in my fruit crisp recipe which you will find here https://downrightvegan.blogspot.com/2017/06/strawberry-rhubarb-crisp.html


In the meantime, I saw a recipe on the King Arthur Flour website about using almond flour to make gluten-cookies.  The recipe that was posted was definitely not vegan, so I changed it easily enough, and made other changes to the recipe to make it my own.

The cookies were wonderful and were very well received by my bridge partners, and they were also enjoyed by the other people in my home.

First - preheat your oven to 350 degrees


Ingredients

The recipe makes 26 cookies.

2 cups of almond flour.  I used Bob’s Red Mill Brand, but any brand of almond flour will work.
6 tablespoons of icing sugar.  I used Wholsome brand because it is fair trade sugar.
6 tablespoons of vegan margerine.  I used Earth Balance brand buttery sticks.
1 teaspoon of vanilla.

Put the flour, icing sugar and margerine into the bowl of a stand mixer or into a regular bowl and use a hand mixer.

Mix on low to medium speed until the ingredients come together into a moist dough and then add the vanilla.  I’ll be honest when I say that I was wondering if the ingredients would come together but after about a minute they did.

Cover your cookie sheet with parchment paper and using a small cookie scoop, drop the dough onto the cookie sheets. Using a fork that has been lightly dipped in icing sugar, gently press the cookies down until they are flattish, then press them again at right angles to the first press to make the classic grid  pattern. Alternatively you could gently press them with the bottom of a drinking glass if you don’t want the grid pattern on your cookies.  I like to space my cookies out so I could only fit a dozen cookies on a sheet. I used a small cookie scoop.  It is about one and half times bigger than a teaspoon.


Ovens vary, but I found my cookies were baked perfectly at 10 minutes.  You will know they are done when they are lightly browned around the edges.  If you aren't sure about your oven, set your timer for eight minutes and check for doneness and if necessary, bake the cookies for a further two minutes.

Let the cookies cool on the cookie sheet for about ten to fifteen minutes then move them to a rack to cool completely.


The cookies are great with tea.


I can’t tell you how long they will last because I haven’t had any left over store away!

Friday, September 21, 2018

Scratch/Dent/Clearance

At my grocery store today we were lucky enough to find a container of fruit that had reached its sell-by date.


We brought it home and Mr DV made smoothies with the addition of a bit of orange juice and frozen banana from our freezer.  So the two superlarge smoothies cost about $6.00.


Thursday, September 20, 2018

Four for $4

This was not an easy challenge.  Food isn’t cheap in my city.

After a lot of calculating, I settled on corn on the cob and tomato soup with crackers.


The soup was 2 for $1 and that was enough for 4 people
The corn was purchased at a roadside farm stand at $8.00 for a dozen or 67cents each, so that was $2.68
That left 32 cents for crackers, and that’s 16 crackers or four crackers per person.  

It comes to $4 exactly.

I could likely have put leftover meatloaf into the soup as well and I would have counted the meatloaf as free considering it is still sitting in my fridge.


Winter Warmer-upper

This is an update of a post that was originally written in 2014. This is one of my go-to winter soups. I had some squash in my freezer lef...